How to add new page and post on WordPress?
To begin with, Post and Page usually beginners get confused here. Thus it’s very important to understand the difference between post and page.
So let’s jump onto the article where we have clarify page and post individually.
Post: Usually, the post is very flexible. Here it is published with time & date. Which helps the viewer/reader to get notified for the recent post. Also, the post can be updated daily, weekly, monthly or even yearly, there is no restriction. Likewise, it allows you to use social sharing plugins. Therefore can be shared by your reader/viewer to social sites like Facebook, Twitter, Linkedin, Quora.
Few steps to add a new post :
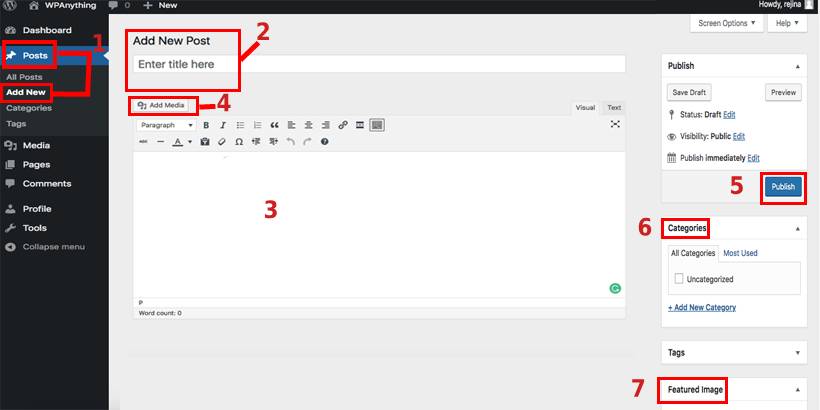
1. Firstly you need to log in your site via wp-admin panel and click Posts > Add New.
2. Choose the Title.
3. You can start with the content.
4. Similarly clicking on the add media button at the top left, you can add images, create a gallery, audio playlist, video playlist, featured image.
5. Here for the publish option, on the right-hand side, you will find the option
- Save draft:
This button helps to store all unfinished work that you’re still working on it. It is also an auto-save.
- Preview:
You can survey your own post through this button.
- Status Draft:
You don’t need to make any changes for this button, but in case if you want some changes then there is an edit option.
- Move to Trash:
If you are unsatisfied with the post you can throw into the trash.
- Publish:
Publish is the final step for your post.
6. Categories & Tags keep your post organized.
7. Lastly, update the Feature image.
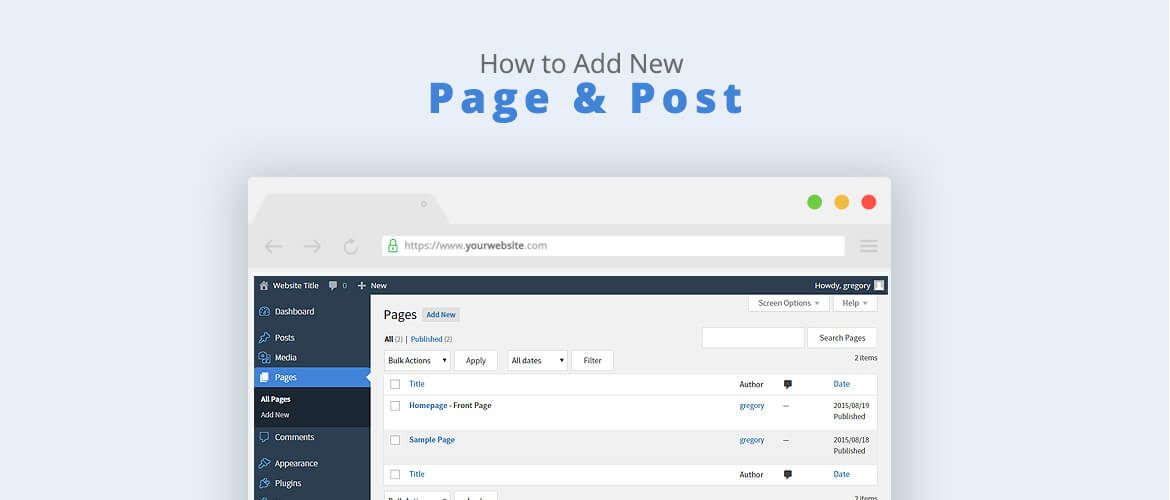
Page:
Generally, the page is not changeable in nature, meaning you don’t have to update on a regular basis.
Few steps to add a new page:
1. Firstly, in the WordPress Dashboard menu. Click Page.
2. Add new.
3. Choose the Title.
4. Add some content.
5. On the right-hand side, you can publish immediately if you are all set, keep in the draft or schedule the page.
6. Also, you can set an order for the navigation here from page attributes
7. Finally set the featured image.
 Conclusion:
These were the easy steps mentioned above. And with the help of the detail information, you can start from the basic practice. Also kindly let us know down in the comment section whether this article was helpful enough.
Thank you!!!